
Customer Support
Plesk Backup: Restore Files (Windows Hosting)
With the Plesk Backup service, you can instantly and safely restore your files to the settings they had at a previous date. To do this, follow the instructions outlined below.
1. Log in to myTophost Panel and from there select Plesk Login to log in to the Plesk of the package you are interested in

2. Empty the root folder of your site by deleting the existing files, as there may be incompatibility after the restore.
To delete your site's existing files, after logging in to Plesk, go to the File Manager option, browse to the root folder corresponding to your site and open it. Then, mass select the files in this folder and delete them.
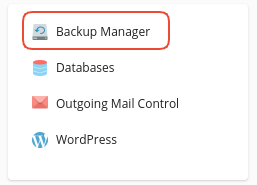
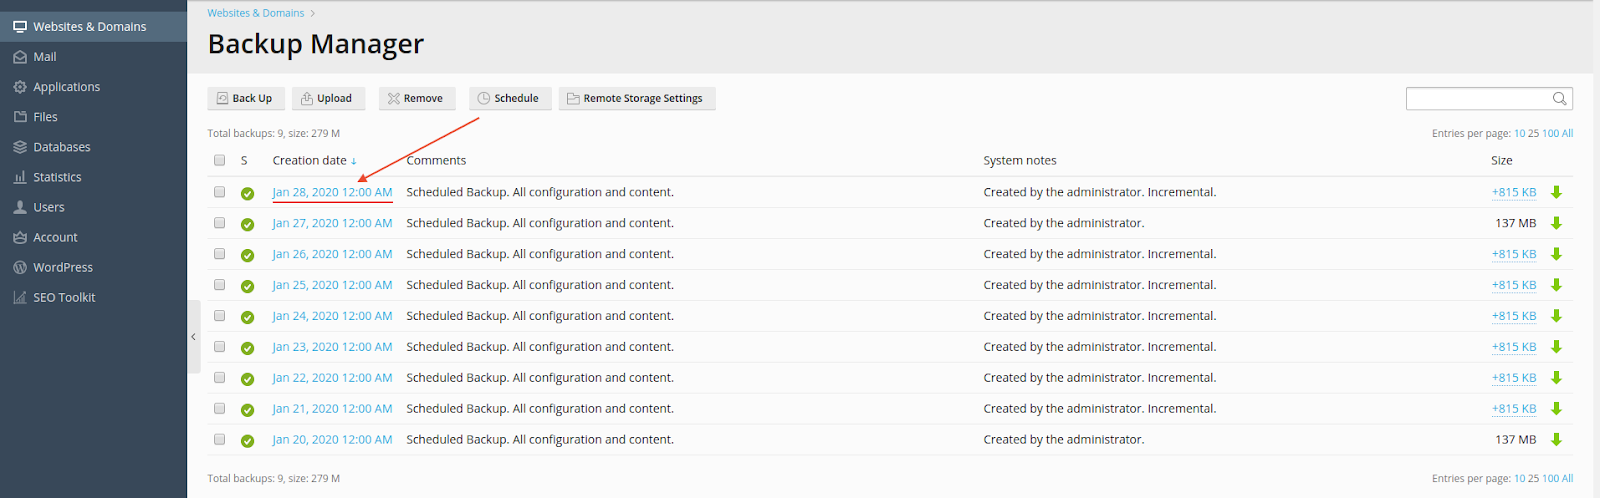
3. After deleting the files, select Websites & Domains > Backup Manager. Here you will see all available backups stored on the backup server.
3. First locate the date you would like to restore your site to and click the desired date link.
4. To restore your site files, on the page that will open:
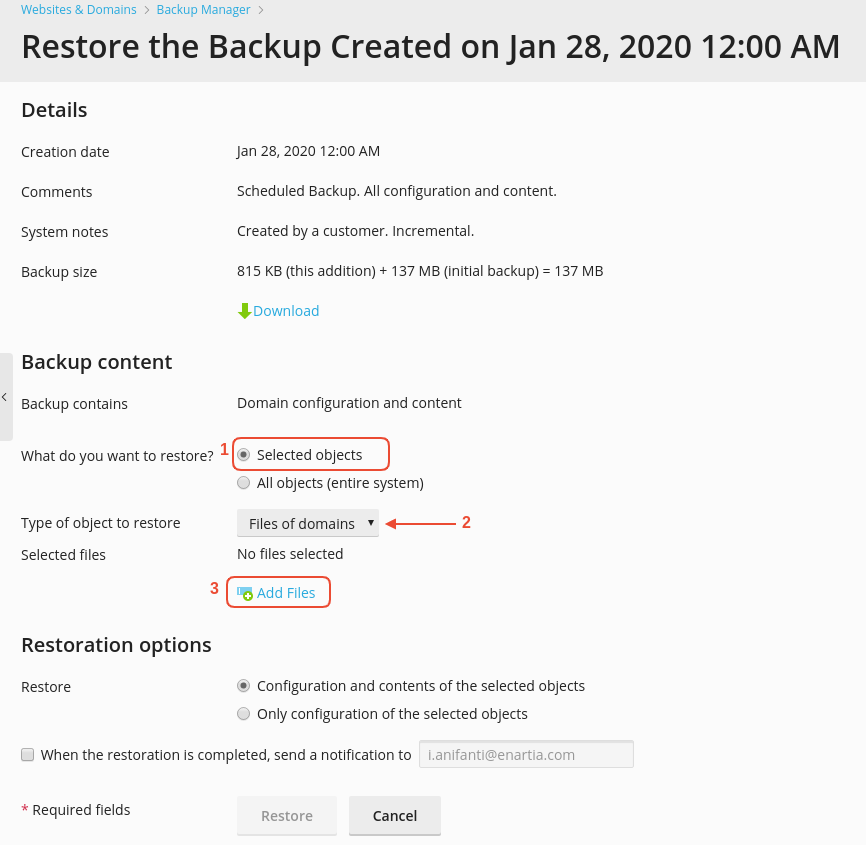
1. In the option "What do you want to restore?" select Selected Objects.
2. In the "Type of object to restore" option, select Files of domains.
3. In the "Selected files" option, click Add Files.
In the window that will open:
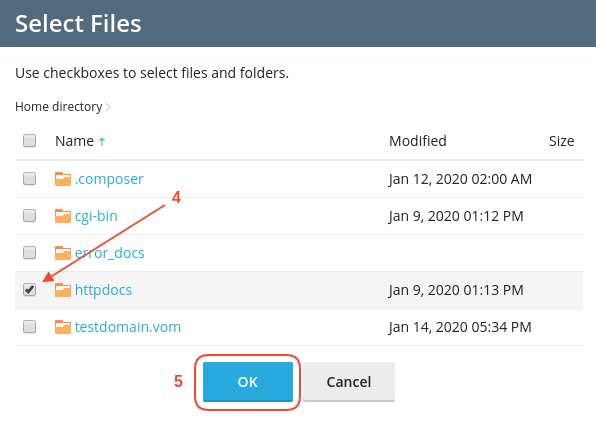
4. Locate the folder corresponding to your site by checking the box to the left of it.
In our example, the site points to httpdocs. So, if we want to restore the site files as they were at a previous date, then we click on the box to the left of the httpdocs folder.
NOTE: In case you want to restore individual files of your site, you can browse them by following the path they are in and select them in the same way.
5. Select OK
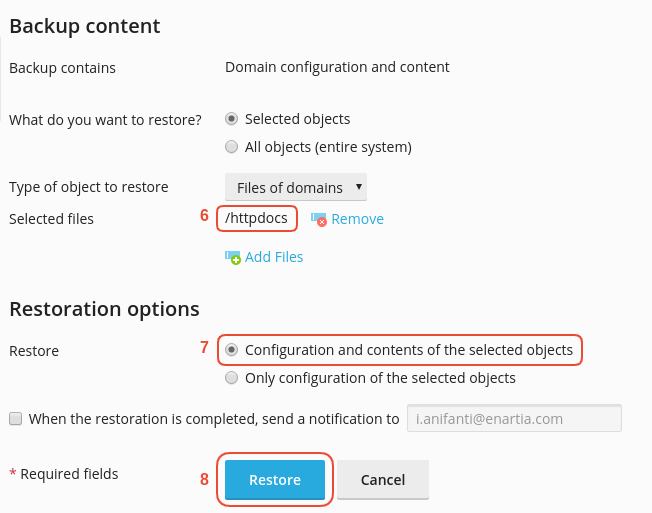
6. In the "Selected files" field you will see the name of the files you have selected and which are to be restored.
7. In the "Restore" option, select Configuration and contents of the selected objects.
8. Finally click on Restore to start the restore process.
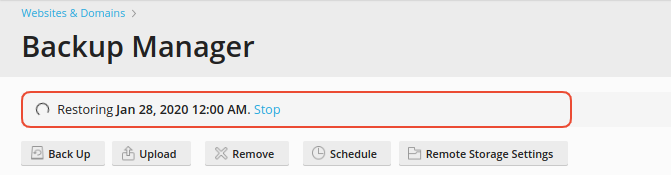
9. 9. Once the restore is completed successfully the following confirmation message appears on the screen.

You haven't found what you are looking for?
Contact our experts, they will be happy to help!
Contact us