
Customer Support
How can I install WordPress through Plesk?
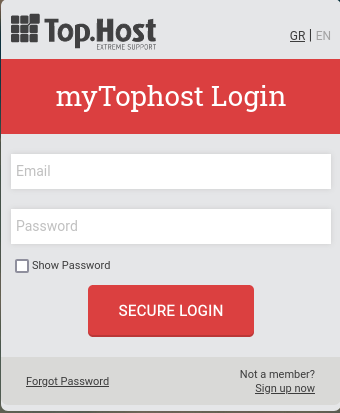
1. Log in to myTophost Panel and from there select Plesk Login to log in to the Plesk of the package you are interested in.

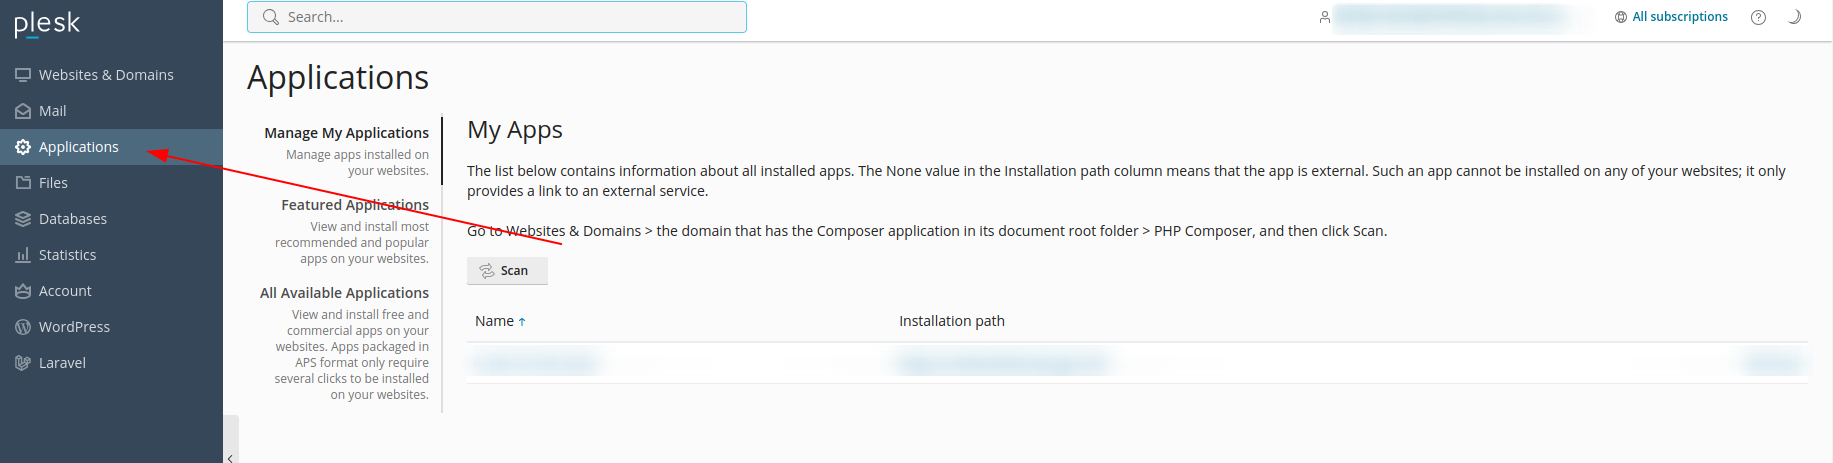
2. Select Applications.
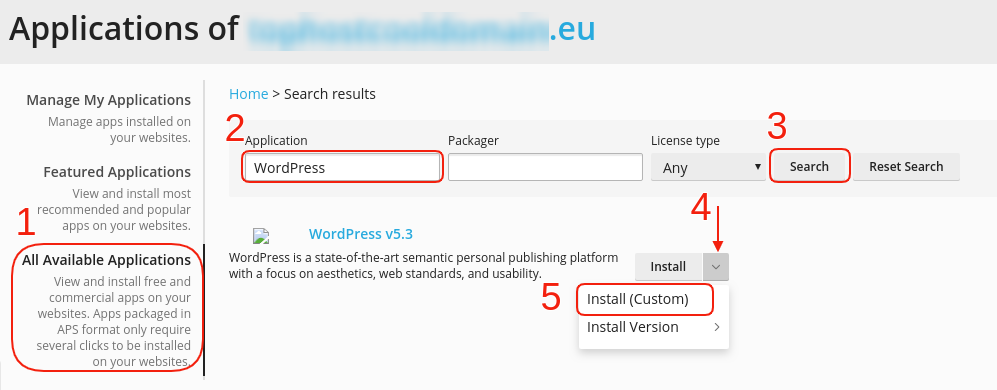
3. Select All available applications and in the search, type WordPress and Search. Once it shows you the search result, select Install (Custom) to install the application.
5. Specify your desired WordPress installation credentials.
5. 1. Select the location where you wish to install WordPress. If you want the root folder, leave the field to the right of the site blank. If you want a specific subfolder, simply state the name of the subfolder where you want the installation to take place in the empty field to the right of the site.
5. 2. Select Automatically update this app when updates are available if you want WordPress to update automatically when it is available.

ATTENTION: In case of automatic update, there may be incompatibility in plugins / themes and therefore a malfunction on your site, so we recommend you not to select it. Besides, Plesk informs you whenever an update is available.
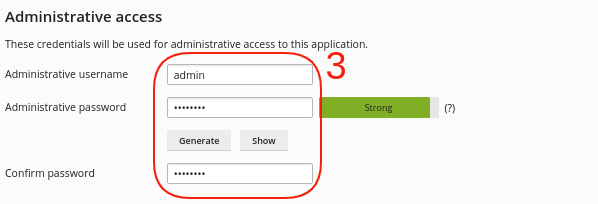
5. 3. In Administrative Access, fill in the credentials you want to login to WordPress administration. More specifically,
- in the Administrative username field: state the username you want
- in the Administrative password field: enter the desired password. Alternatively, click on the Generate button to generate a random code and then select Show to display the random code and write it down for example in a text editor.
- in the Confirm password field: repeat the password you entered in the field above
5.4. In the Main configuration category during installation, Plesk automatically declares some fields. You can modify them as you wish and select Install to complete the installation. More specifically:
- Administrator's email: Enter a working email
- Site name: State the name you wish to appear as a title on your site
- Interface language: Specify the language you want in the WordPress admin interface
- Database server: Automatically filled in as localhost:3306
- Database name: Enter the name of the WordPress database that will be automatically created
- Prefix of tables: Declare the prefix you wish to appear in the WordPress base tables
- Database user name: Enter the username of the WordPress database user
- Database user password: Enter the password of the above WordPress database user
- Confirm password: Confirm the password you set in the field above
After completing the above fields, select Install.

NOTE: Through the automatic installation, Plesk creates the database and configuration file, so you don't need to do anything extra.
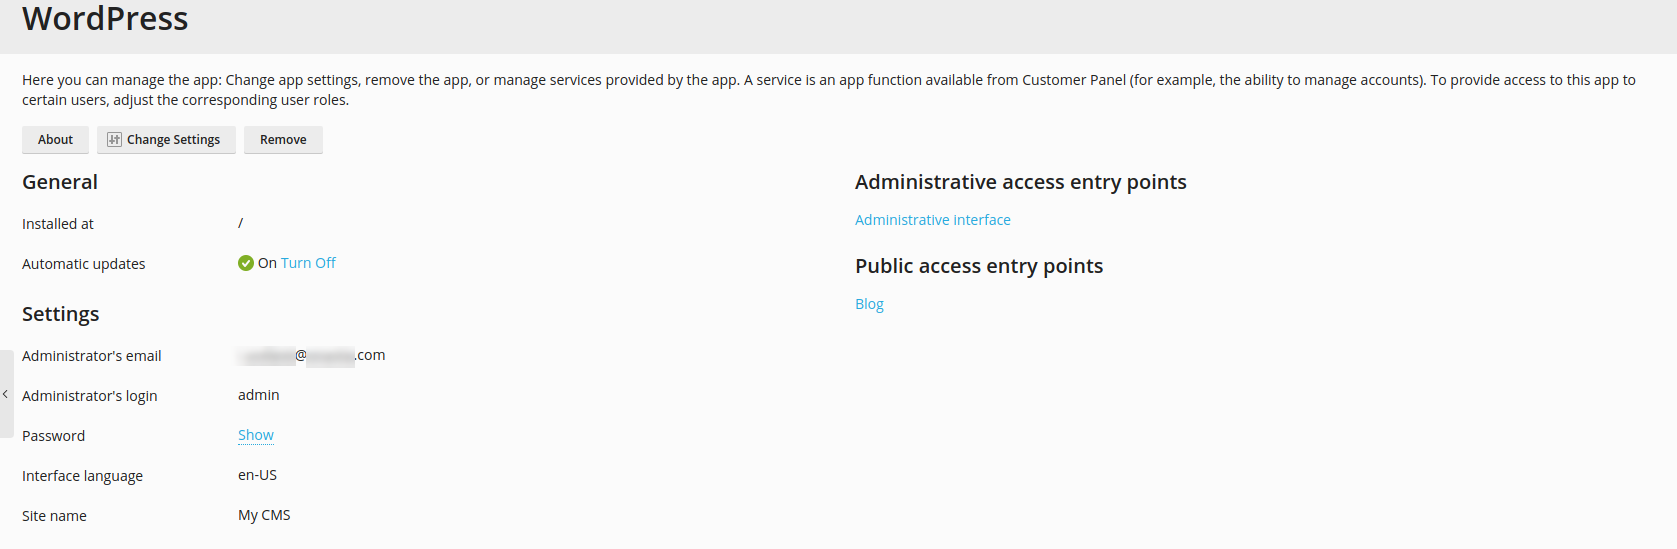
6. Once the installation is complete, the following will appear, where by clicking on the Administrative interface you can log in to the WordPress admin to start designing your site.
You haven't found what you are looking for?
Contact our experts, they will be happy to help!
Contact us